

Capturing content your event
Getting your community together in person (in compliance with local guidelines and at a safe distance of course) can be a great source of amazing content. Think of what your community is most passionate about and what things they would like to see. This can also be a way to promote your events and stock up on material for your group, page or Instagram.
4 key tips for capturing and sharing content
Before you begin to capture content, it is important to make sure your community is comfortable and excited to be featured. Some ways that community leaders check to make sure their community members are comfortable is to ask when attendees check in for the event, write a disclaimer in the event description and create buttons that can say “Do not photograph” and/or have a crossed out camera for attendees to wear when they are at the event if they do not want to be featured. .
Some great times to go live are: when you arrive at the venue, when attendees arrive, when you begin your activity, etc. Going live can allow members who could not attend participate in your event and create excitement in your community.
Think about your community members. Can you find someone to be the photographer? They can capture video on their phone or maybe even a professional camera! Ask your community what their skills are and get them involved.
Interviewing members from a safe distance, asking quick rapid fire questions, having attendees interview one another and even do member takeovers during the event. Poll your members on what they are interested in seeing or hearing from their community!

Think of capturing different content. Capture the various moments of the live event, interview different people or even ask someone to do a takeover.
Tools to Capture Content at your Event
Once you’ve got a plan for where to gather, and the purpose of the meeting, Facebook Events is the best way to organize your real life event.
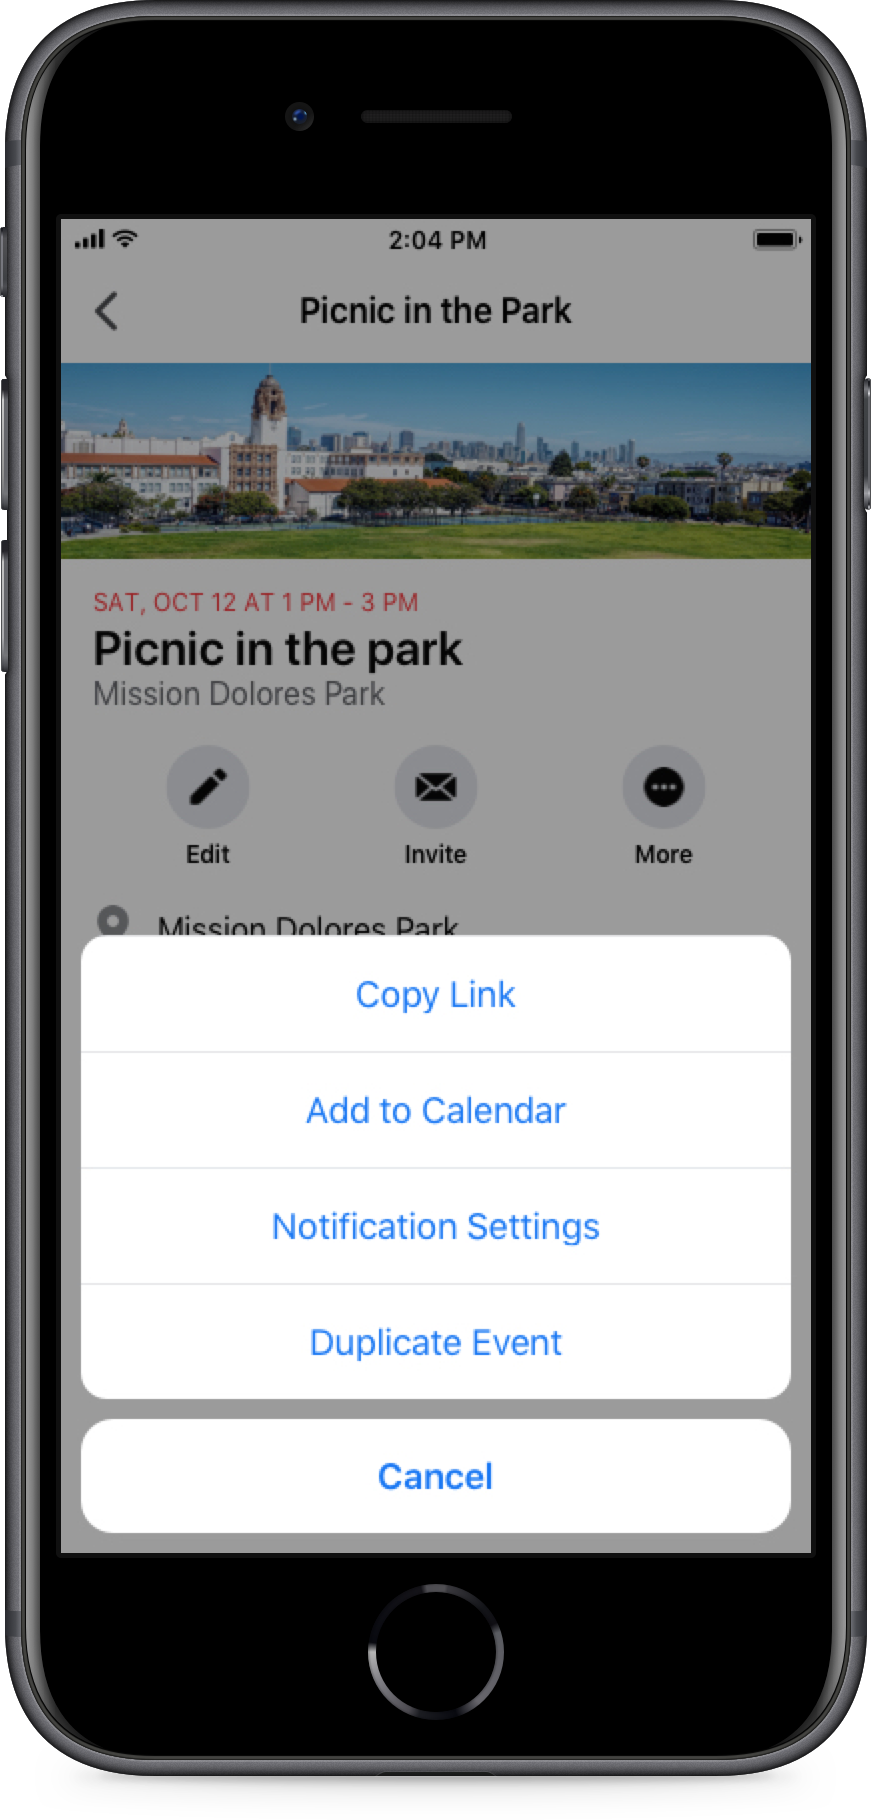
To set up an event:
- Go to your group and click the events button above the composer
- When you are in the events tab, click “Create an Event”
- Add your time, location, info and a cover photo. Tip: In the photo you can also include the time and place for more visibility for your group members
- Once you have set up your event, you can start to invite members by clicking the invite button.
- Remind your community to RSVP and add to their calendar using the “...” and “Add to Calendar” button
Having a page for your community can boost its visibility, and give you another platform to promote what you care about. Think about posting updates, articles, photos from your events, and relevant posts from members (with permission of course!).
How to set up and link to your page:
- Go to the pages tab and either “create a page” or open your page
- Once you have set up your page you can now link to your group
- Under groups, add all of your groups in one place
Instagram can help broaden your follower base and give you another place to share great content from your group.
To set up an Instagram:
- Go to your personal profile or new account to create an Instagram
- Click on “Create New” and give your account a name (recommend the same as your community)
- Start posting content (photos, video) related to your community. Here you can source content from events, related posts, and posts from the community (with permission and tagging of course)
- Use hashtags to increase discoverability of content, see what hashtags other accounts are using or use apps like Focalpoint to generate hashtags. Finally, post on other accounts to contribute to a dialogue within your community ecosystem
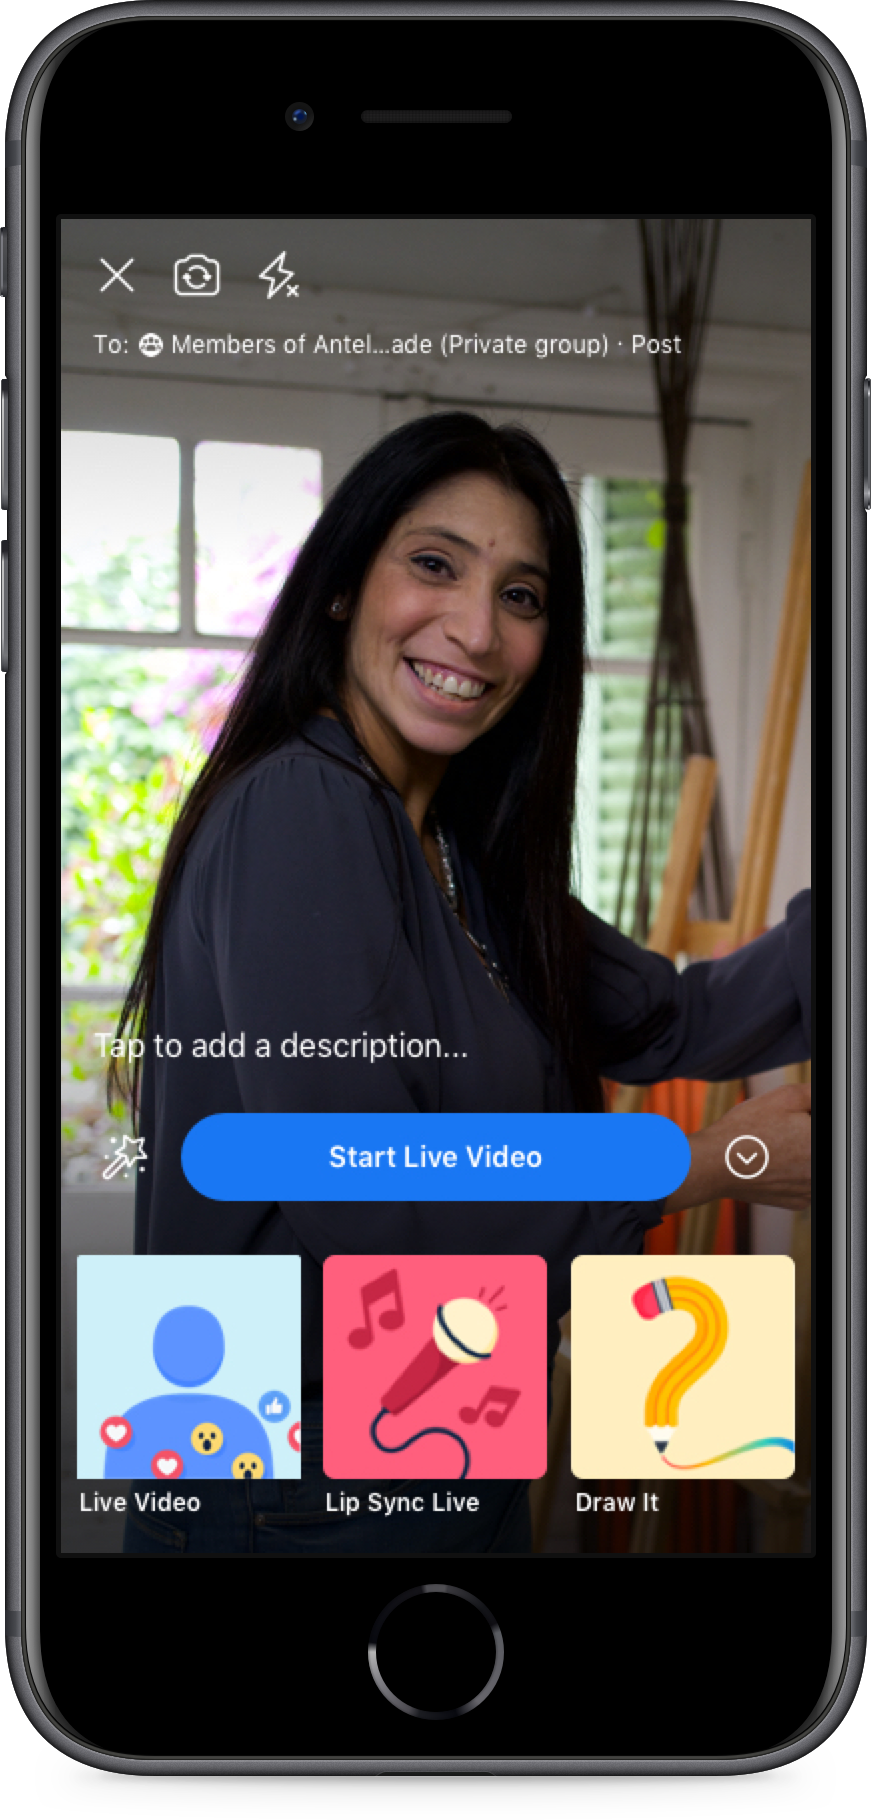
Setting up a live in your group is a simple way to get started with video in your group.
To set up a live in your group:
- Go to your group and open the composer tool
- Click the live button to start your live
- Keep an eye out for comments and you can respond live
- Post your live after you’ve finished for continued engagement