

As your community grows and evolves, you may want to create additional communities to give your members more personalized support and content.
These communities could be location or topic specific or respond to a particular need or request from your community. Start thinking about what type of subcommunities you want to have, how to link them and who you want to run them.
3 ways to scale your community
When deciding whether to grow your existing community or create a new community, think about how your community would benefit from having different communities.
A “subcommunity” is simply a new community you create that can link back to your original community. When you feel your community is thriving and you are looking to expand, consider thinking about what type of additional communities would make sense for your community. When you are ready, simply create a new community under that topic and link it back to your original community and page.
When deciding if you should start a new community, you can consider some of the following questions:
- Is there a strong local component to your community?
- Do you want people to be able to organize easily in-person?
- Are there language or cultural differences that could make it harder to communicate effectively in a large community? Would people with common languages and cultural nuances enjoy being together in a subcommunity?
- Are there people within the community with distinctly different interests or preferences who would enjoy more specialized content or engagement?
- Is your original community already running efficiently and effectively so that you have time and energy to place elsewhere?
Take your time finding the right person to lead or help you run your new community. Look to your communities’ most engaged members and advocates (you can use Insights and Badges to help you identify these top contributors) to find the right admin volunteer.
- You can promote more moderators to help manage active community chats
- Recruit from your existing contacts and post in your community or on your page
- Make sure you have a clear role description that you can share out – be sure to highlight the benefits of being an admin
- Create a thoughtful application and screening process. After all, your new admin will be representing you and your community
- Train and support your new admins. Provide them with a self-serve information guide or handbook
- Assign a trusted mentor from your admin team to help coach the new admin through the launch (and perhaps first event)
- Help the new admin set up and ‘own’ the community from your page
Build processes to communicate as one team. Some ways to stay in contact and encourage your team of admins to share best practices:
- Create a community for your team
- Use Messenger chats
- Use the Mentorship tool within community
- Set up training resources using the Units feature
For more on growing and training your team, visit here.

You can link all of your communities to a central community page so that anyone can easily find all of your related communities.
Tools for linking subcommunities and training volunteers
Having a page for your community can help you to organize all of your communities in one place. Whether your communities are supporting different local areas or interests – linking them to a page can help people find the right community for them.
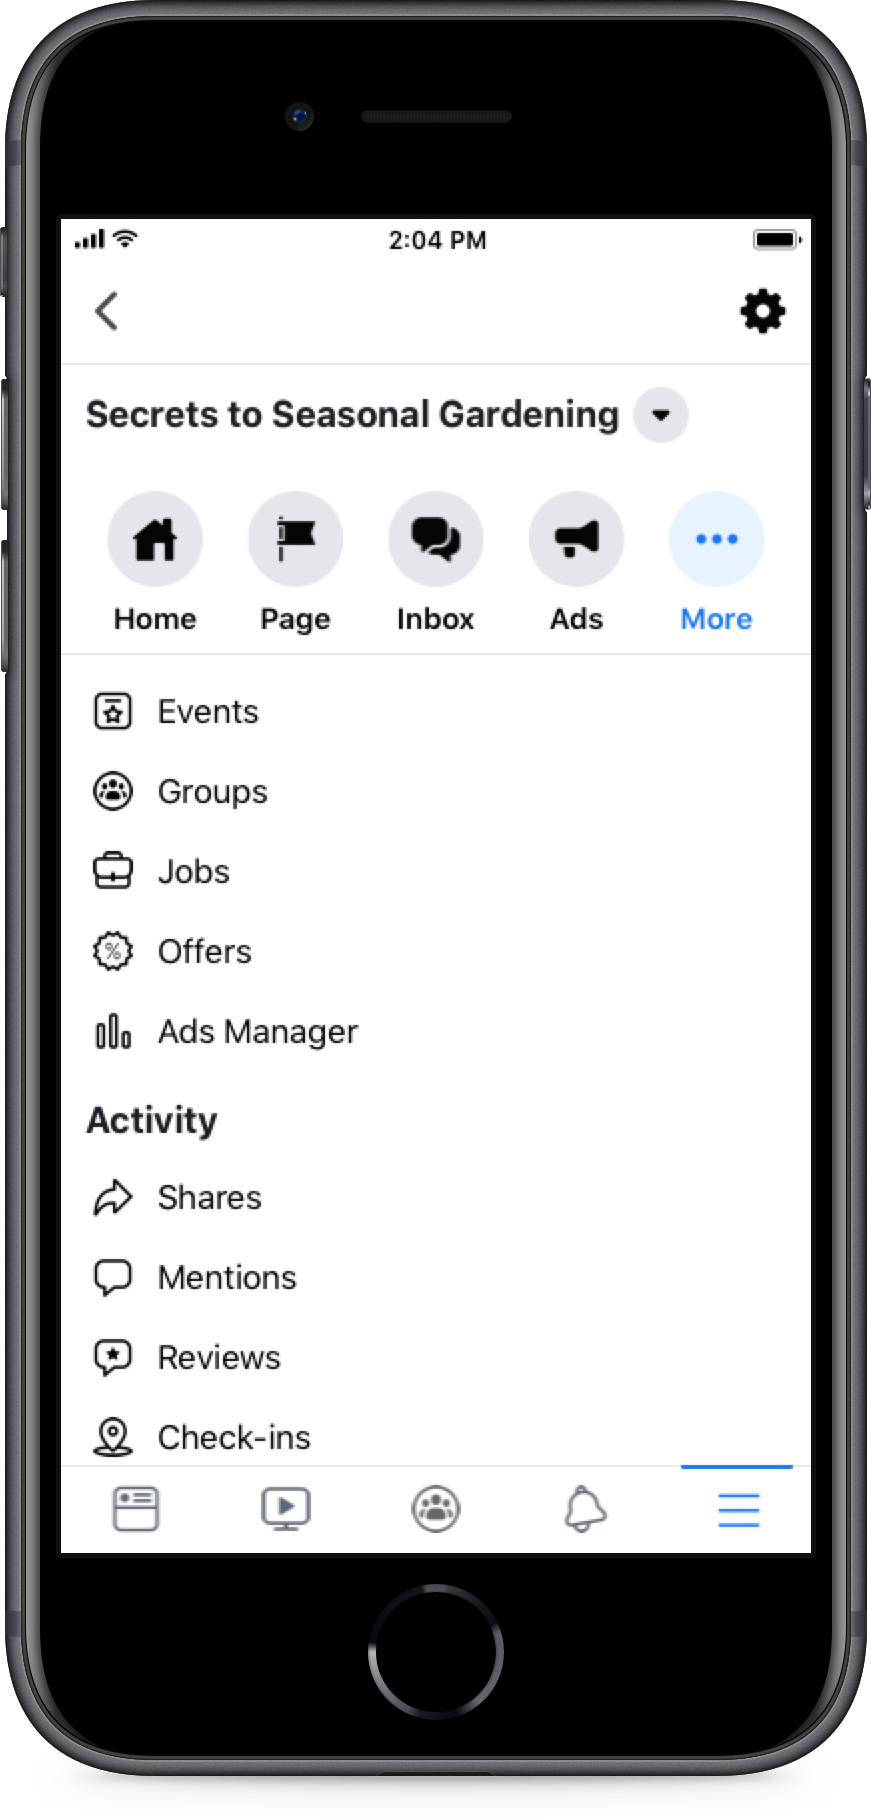
Steps to set up and link to your page:
- Go to the pages tab and either “create a page” or open your page
- Once you have set up your page you can now link to your communities
- Under communities, add each of the communities you want to connect to your page
Linking your communities can help members find the community they’re looking for. Add your local or interest specific communities using this tool.
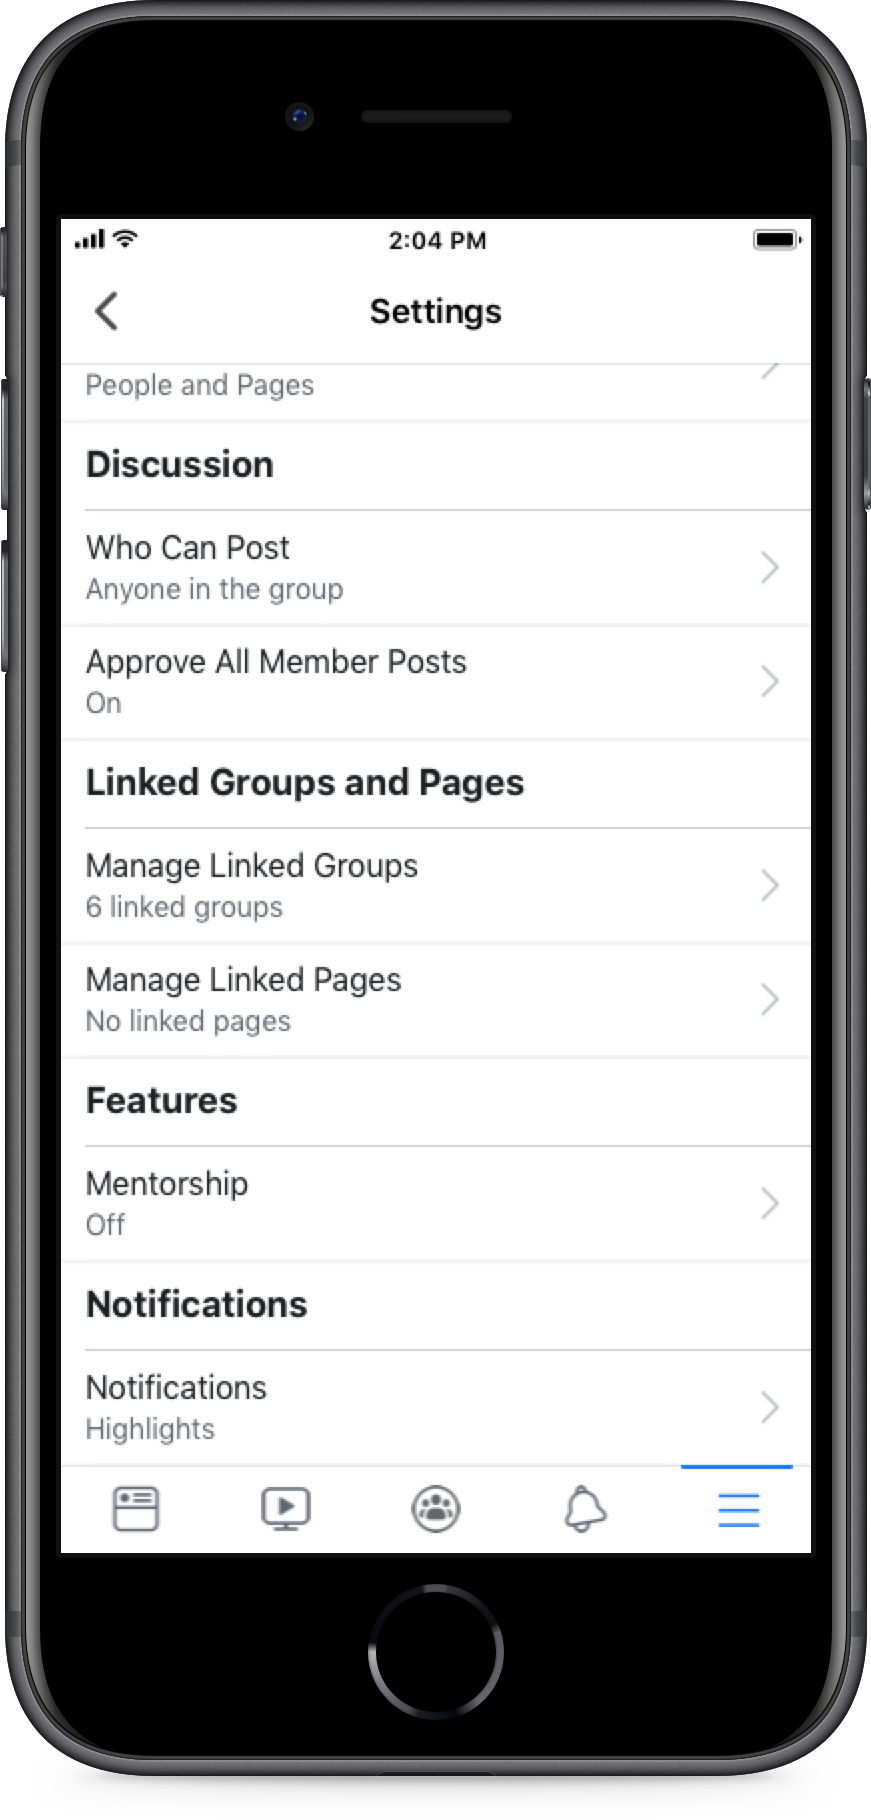
Steps to show recommended communities:
- Go to your community
- Open settings in your admin tools and find “Linked Communities and Pages”
- Add your communities or page to your recommendations for members to easily find
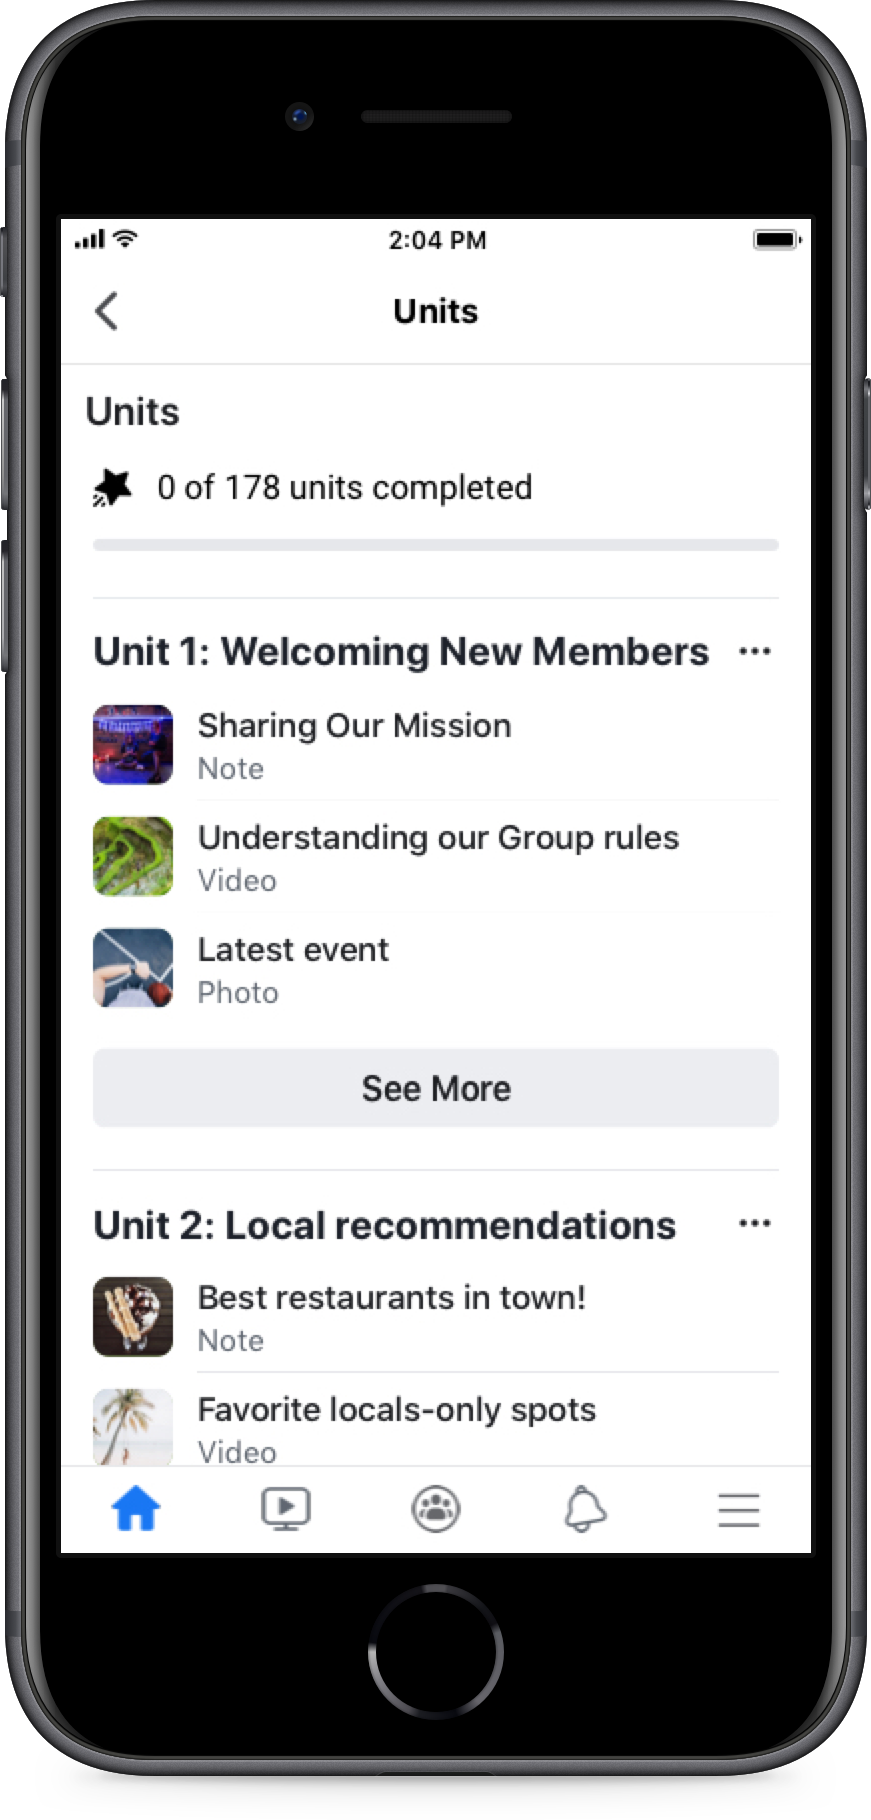
Units can be used to organize communities of posts into sequences that can be revisited anytime. They’re great for setting up lessons or educational materials.
Units can help you train your new admins giving them the resources they need to run a group in one place. For more on how you can use units in your community, click here.
Steps to set up units:
- To use Units, you need to change your community type to “Social Learning” this can be done in setting under “Community Type”
- Next go to the Units section and create your first Unit. Name your unit and decide if this is optional or if members of your community need to see it.
- From here, you can create your Unit such as “Community Manager Guides” that can feature handbooks or other resources for your volunteer admins