


When you have your idea, venue and maybe even some volunteers you can start to promote your event both in your own community, across multiple channels or through cross promotion with other communities. Here are a few tips to get you started:
4 key tips for promoting your event
- Post your initial event and announcement
- Be sure to include any safety or accessibility precautions that your attendees should be aware of! Such as the need for masks or accessible entrances.
- Post a follow up with a visual from your last event or a fun photo from the venue, gif or another visual relevant and make sure to add a description and link to the event
- Follow up 1-2 days before the event
- Share a reminder right before the event
Setting up a chat with attendees and volunteers is a great way to get them excited and answer questions about the event.
- Find fellow leaders in your ecosystem to cross promote your events in their community. Be ready to promote their own in your community as well!
- Ask your members to also promote your event on their own channels or even within the community.
One great channel for communication and reminders is email. Posting a survey in your community to ask members to opt-in to email updates can help you to promote your events.

Connect with fellow community leaders to promote your event in their community and be ready to return the favor and promote their event in yours.
Tools to promote your event
Once you’ve got a plan for where to gather and the purpose of the meeting, Facebook Events is the best way to organize your real life event.
To set up an event:
- Go to your community and click the events button above the composer
- When you are in the events tab, click “Create an Event”
- Add your time, location, info and a cover photo. Tip: In the photo you can also include the time and place for more visibility for your community members.
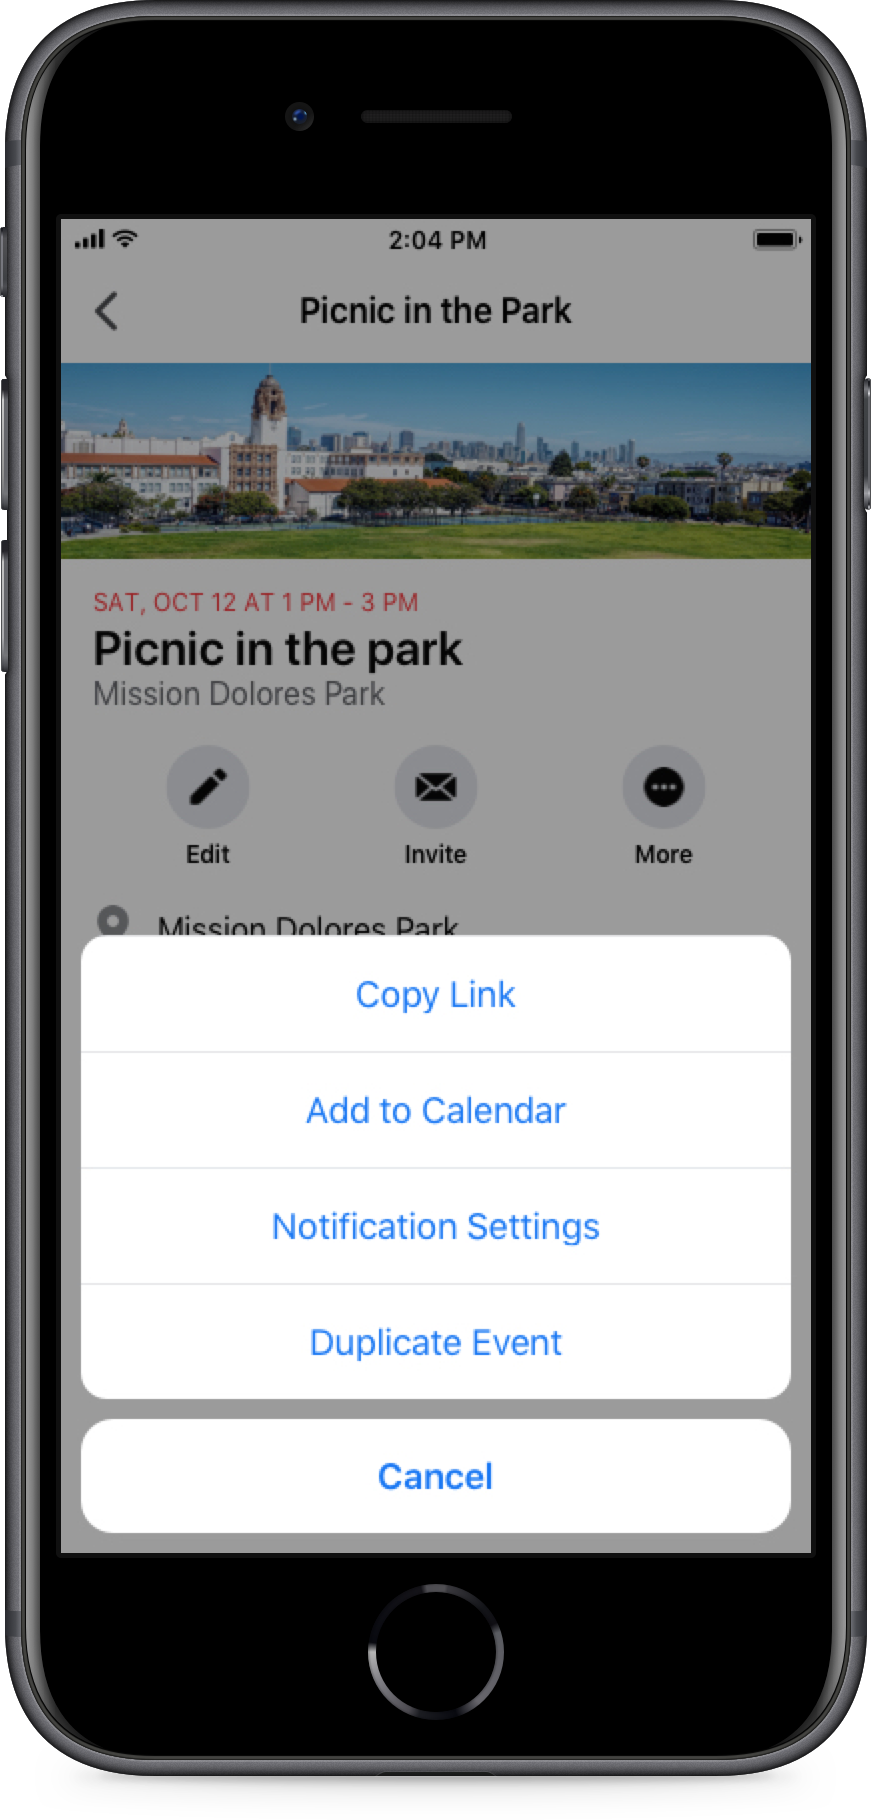
- Once you have set up your event, you can start to invite members by clicking the invite button.
- Remind your community to RSVP and add to their calendar using the “...” and “Add to Calendar” button
Having a page for your community can boost its visibility, and give you another platform to promote what you care about. Think about posting updates, articles, photos from your events, and relevant posts from members (with permission of course!).
How to set up and link to your page:
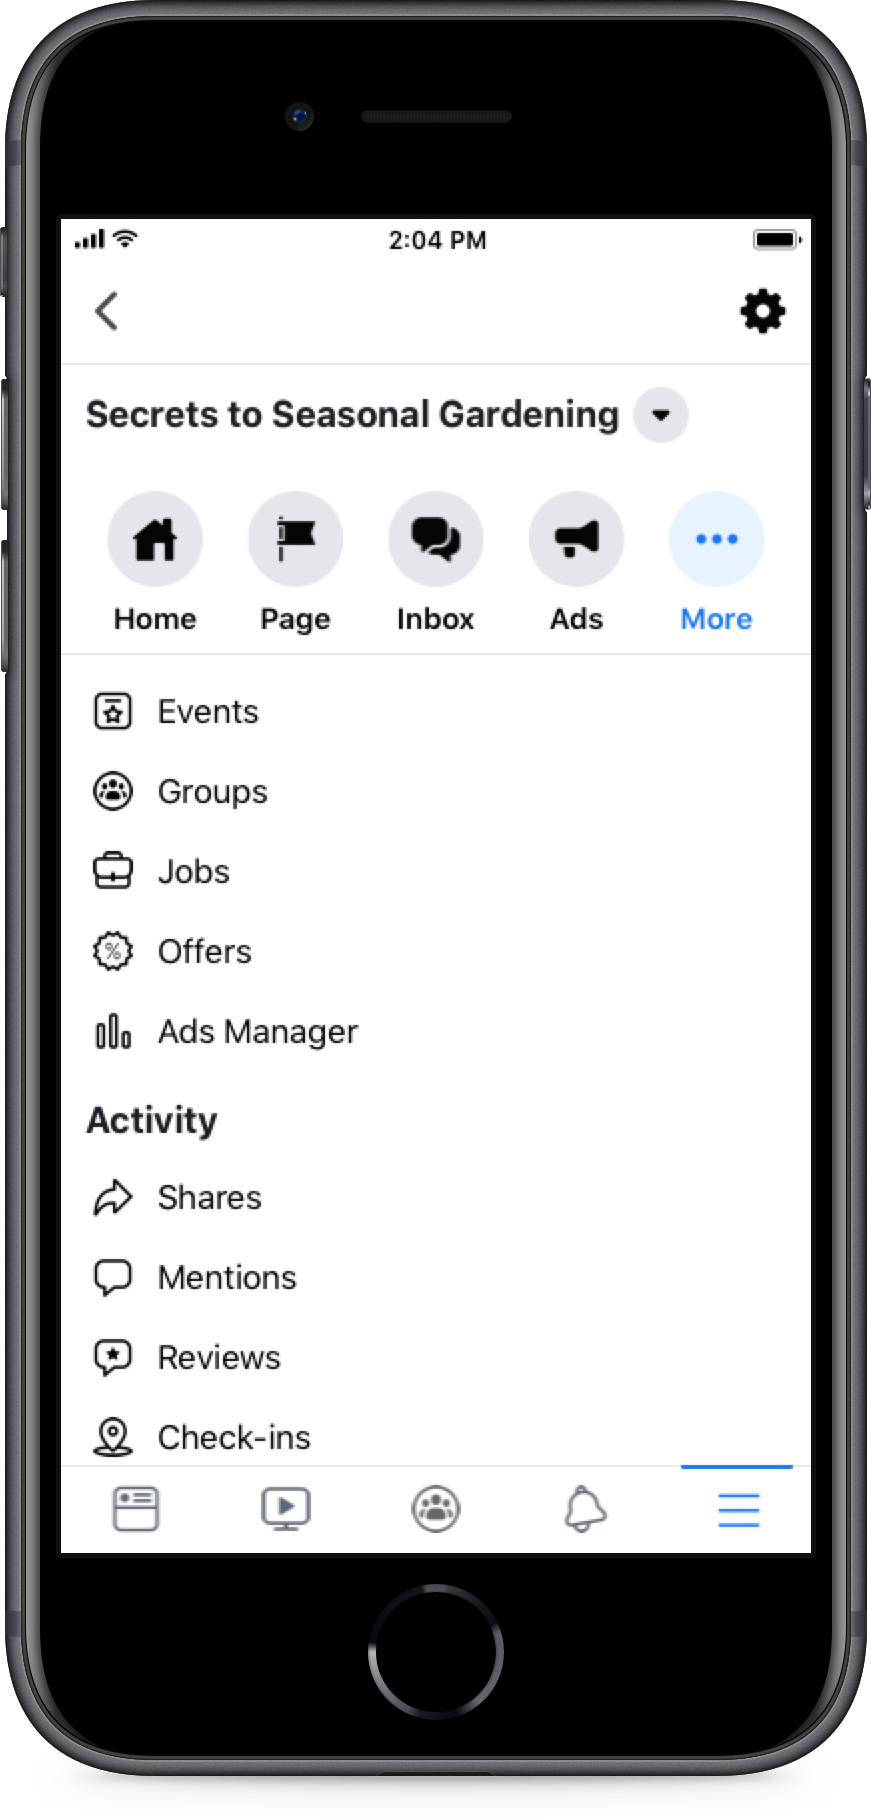
- Go to the pages tab and either “create a page” or open your page
- Once you have set up your page you can now link to your community
- Under communities, add all of your communities in one place
Instagram can help broaden your follower base and give you another place to share great content from your community.
To set up an Instagram:
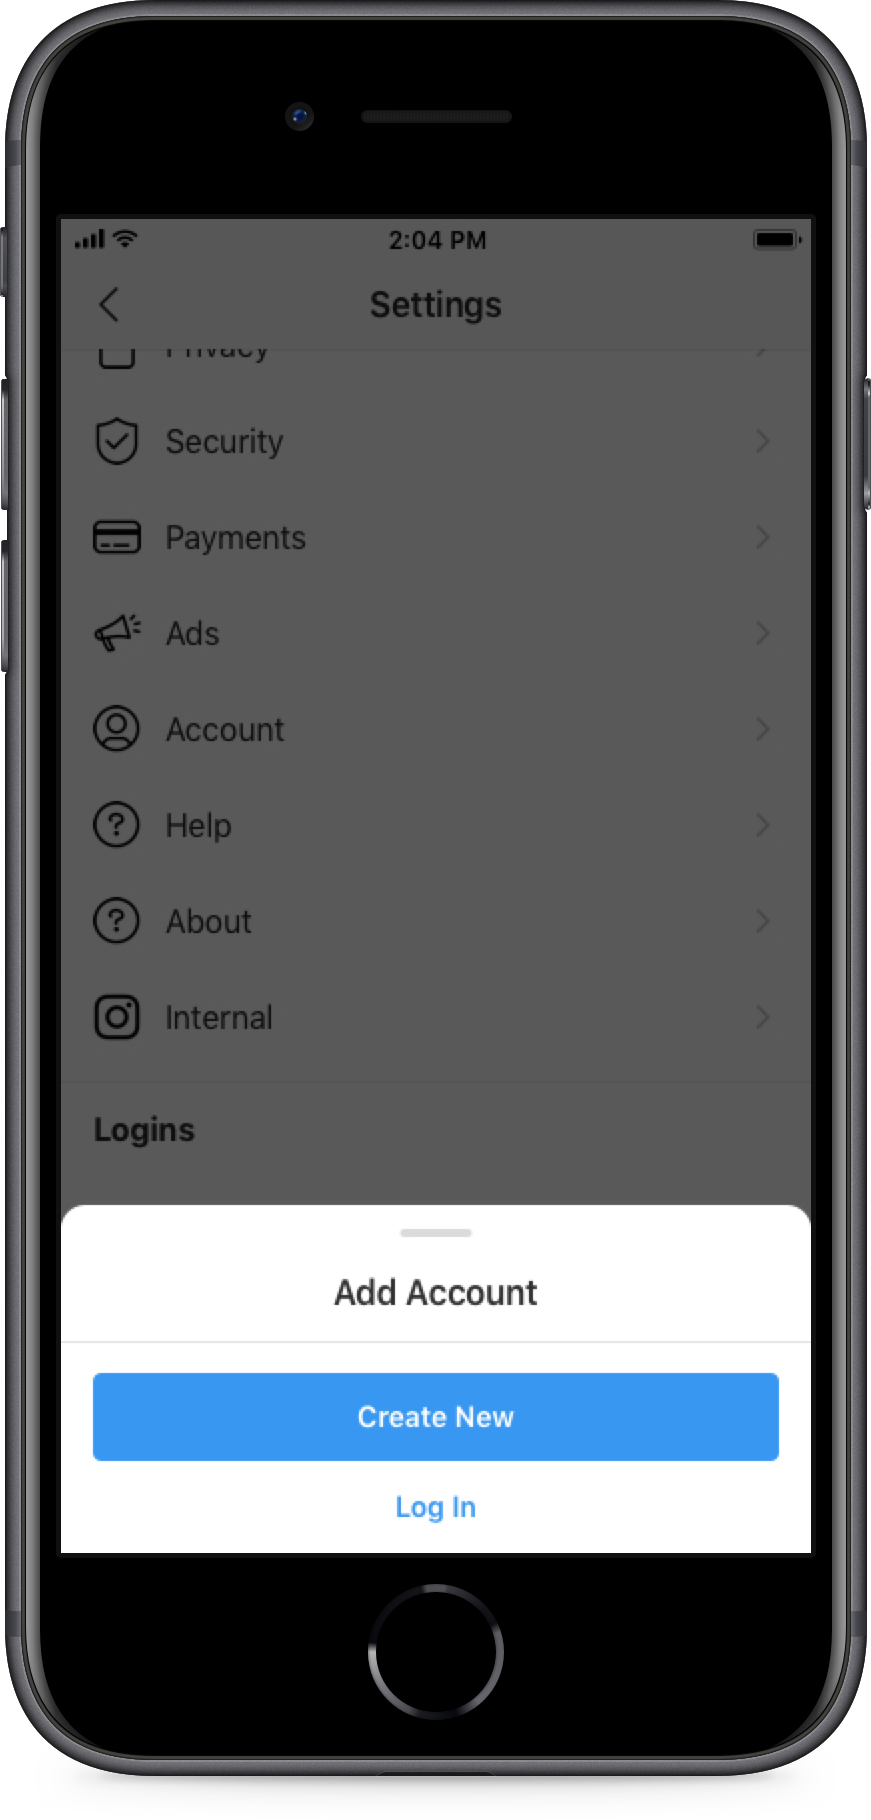
- Go to your personal profile or new account to create an Instagram
- Click on “Create New” and give your account a name (recommend the same as your community)
- Start posting content (photos, video) related to your community. Here you can source content from events, related posts, and posts from the community (with permission and tagging of course)
- Use hashtags to increase discoverability of content, see what hashtags other accounts are using or use apps like Focalpoint to generate hashtags. Finally, post on other accounts to contribute to a dialogue within your community ecosystem
When promoting an event or get-together, pinning your event post as an announcement will help you get the attention of your members.
To pin announcement:
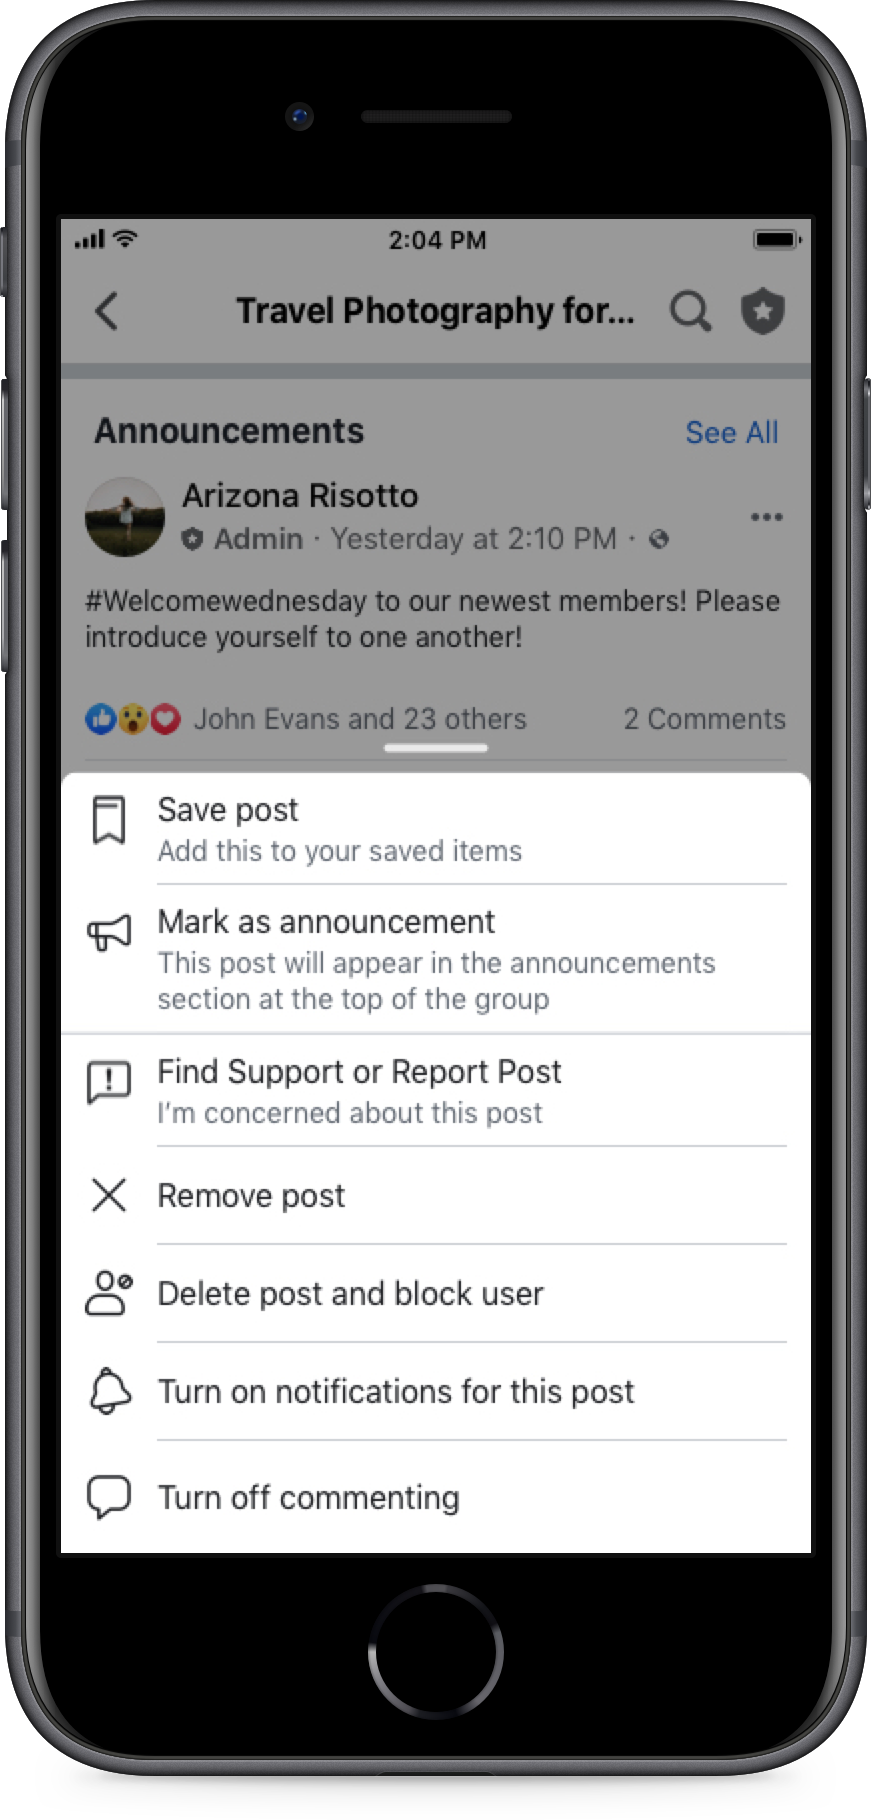
- Go to your community and find your event post
- Click the “...” and “Add to Announcement”
- Choose the length of time (could be until the event is over) and set your announcement!
Messenger can help to keep your team connected. You can use chat to escalate issues, share best practices and stories from the community or keep each other updated on events in the community.
How to step up a community chat:
- Open the messenger app and go to the compose button
- Here you can search and add multiple people to your chat
- Step 3: Once you have added your team, you can name this chat and add color or emojis to make it your own!

You can also use Community Chats to get members talking about upcoming events in real-time. Admins say it’s a very useful tool for quick communication, especially the day before or day of the event itself. You can organize who’s bringing what, where to meet or any important details.
To create a Community Chat:
- Tap menu in the top right of Facebook and tap Groups then Your groups, then select your group. If you can't see Groups, tap See more.
- Tap menu at the top left of the group.
- Tap Create chat.
- Enter a chat name, an optional description and an optional category.
- Tap Create.

