


Events are a great way to get your community together in person. Whether you want to have a casual meetup for your members or followers online or in-person - there are few steps you can take to prepare to set up your event.
4 key steps for setting up an event
The first way to come up with event topic ideas is to start with your members. Start a poll in your community or post a survey in your community to ask your members where and what they want to do for events. This can help you to gauge the level of preparation you will need for your event.
Some common ideas for community events are (many of which can be done online and socially distant!):
- Happy Hours
- Book Clubs
- Local Activities
- Picnics in the park
- Museums
- Volunteering
- Dance classes
- Fundraisers
- Potlucks
- Play dates
- Hiking
- Beach days
When setting up your event, choose a photo and title that will make your event stand out and makes it easy to understand the purpose. Include the date of your event and location of your event in the title
When writing your description for your event, make sure to outline the what, where and when. Here is an easy template for writing an event description:
- What: Trivia Night
- When: Thursday, Sept. 12, 6PM
- Where: Online Through Messenger Rooms
- Cost: Free! Bring your own snacks and drinks
- Contact: Aria, Community Manager: (650) 555-6789
- What is [THE NAME OF YOUR COMMUNITY]? We are a community of like minded people who are excited to get together! Find more information about our community here: [INSERT LINK TO YOUR COMMUNITY OR PAGE]
- Depending on the size of your event, finding a local venue is a great way to provide a mutual benefit to local business in your community.
- Make sure to check with your local guidelines and businesses on their safety restrictions. Be sure to also protect yourself and your guests; for example, you can ask members to wear a mask or bring hand sanitizer.
- Start by asking your favorite local businesses or space when their slow days or nights are and bring in your community. This can help you to build a relationship with that business to start reserving times that make sense for your members.
- Presenting a business card with the name of your community and your contact info is a great way to start to build mutual trust with you and venues.
- Finding venues that are easy for members to purchase their own food or drinks is key to managing cost. In your event description make sure to share cost estimates or encourage members to bring their own food and drink.
- When reserving a space, make sure to ask if there are costs associated. If there is a minimum spend for larger parties, you can ask your community to pay to attend so that you do not have to cover the entire cost.
- Also check the accessibility of the venue, you want to make sure all of your members can be a part of it and have a great time!
- Try to find a spot that is immediately apparent to attendees as they arrive at the venue. This could be their first event and they may be nervous so if they can easily find you it will immediately put them at ease.
- Create a sign for your community. It could be as simple as a piece of paper with your community's name and logo you can place on the table. That way attendees will be able to identify your community easily.

Every great event is created with input from your community members! So, start with a poll or a survey to get ideas from your community.
Tools to bring your event to life
Once you've got a plan for where to gather, and the purpose of the meeting, Facebook Events is the best way to organize your real life event.
To set up an event:
- Go to your community and click the events button above the composer
- When you are in the events tab, click “Create an Event”
- Add your time, location, info and a cover photo. Tip: In the photo you can also include the time and place for more visibility for your community members
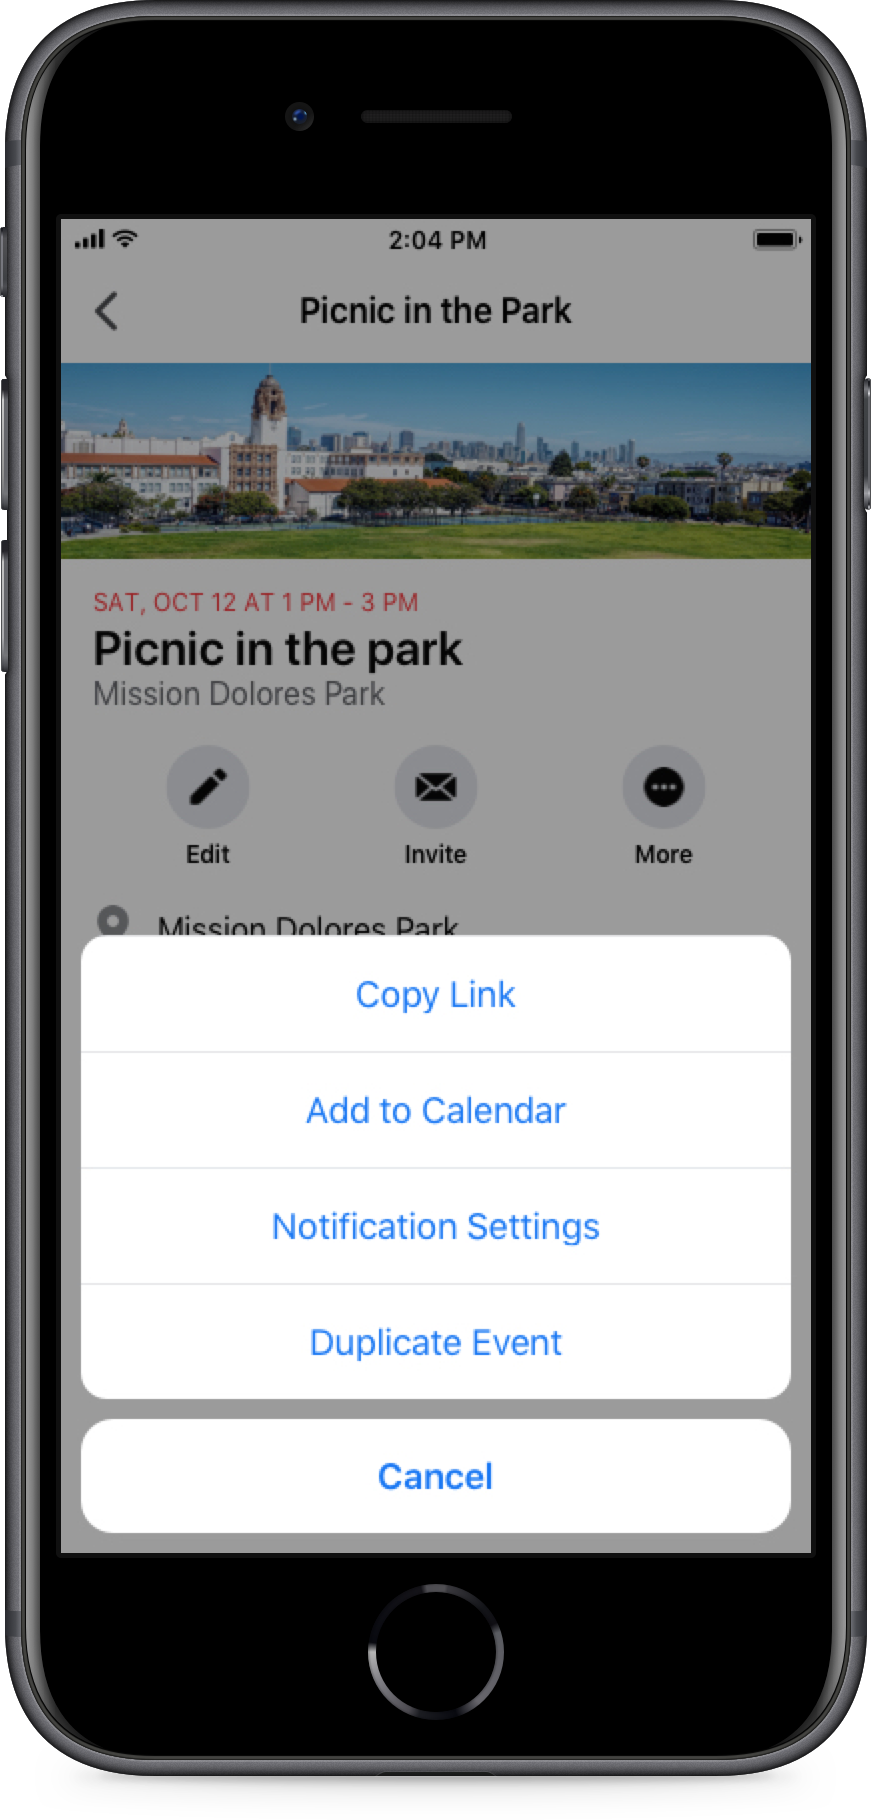
- Once you have set up your event, you can start to invite members by clicking the invite button
- Remind your community to RSVP and add to their calendar using the “...” and “Add to Calendar” button
Rooms can help to get your community together online. Messenger Rooms is a video chat room where you can use link sharing to connect to more people.
To create a room in Messenger:
- Go to “People,” and click “Active.”
- Click “Create a Room” and “Try It.”
- Click “Share Link.”

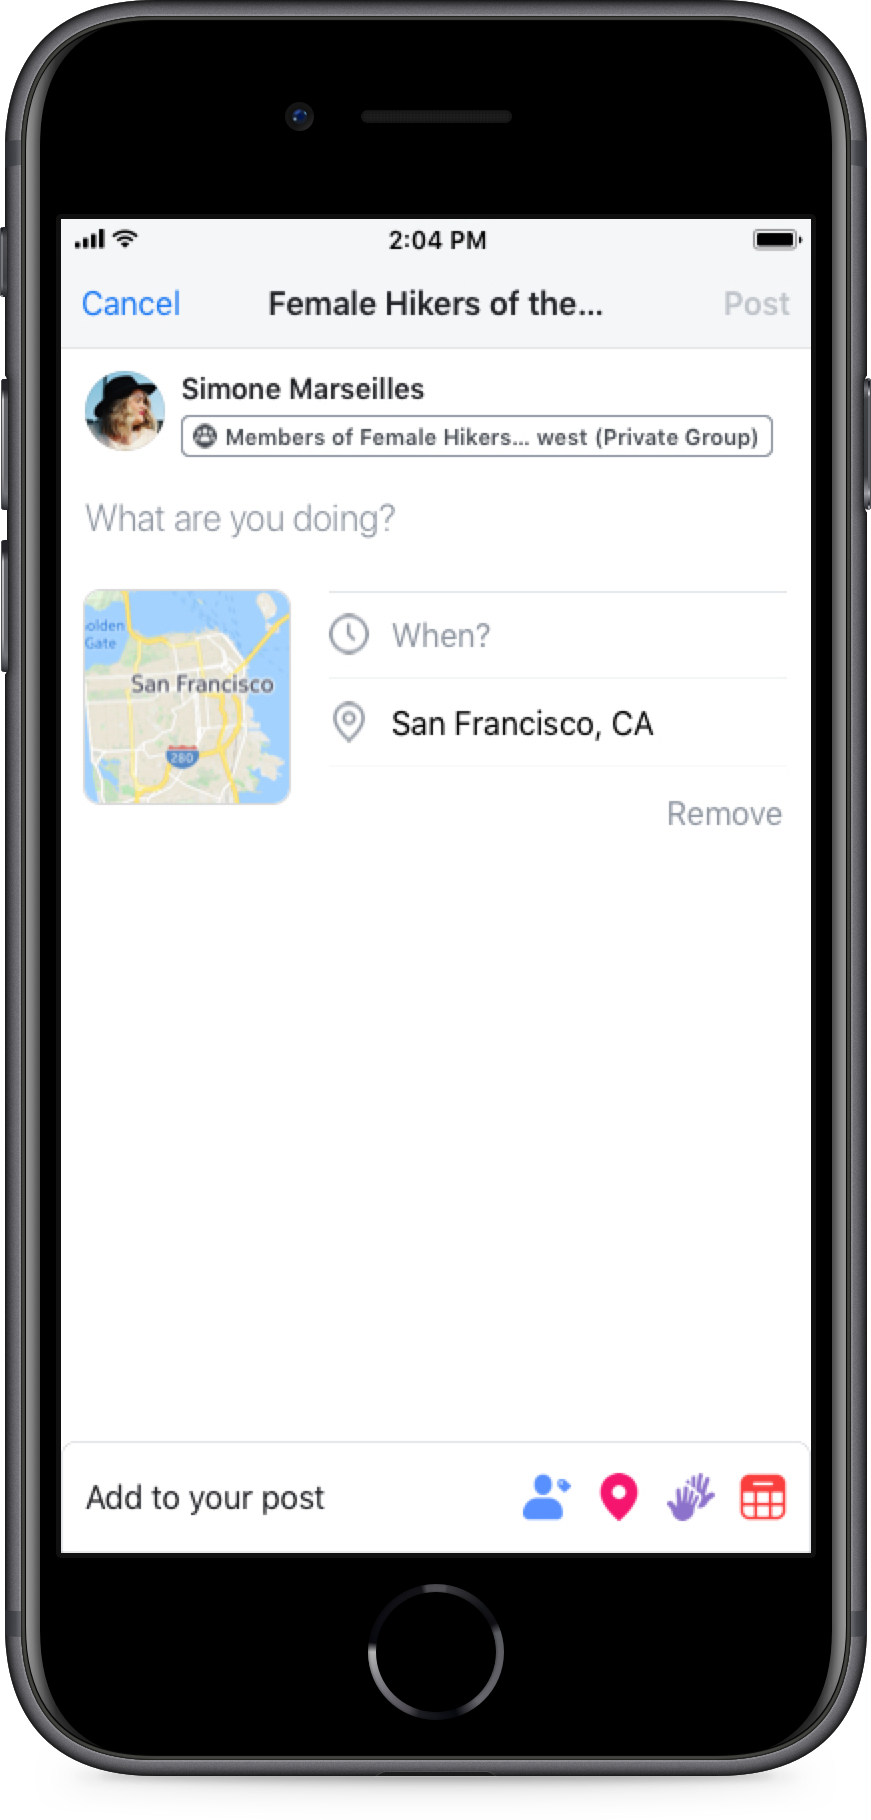
Admins and members can also organize smaller, informal meetups within the community on their own using the get-togethers feature that shows up as a post in your community.
To set up a get-together:
- Go to your community and open the composer section
- Click on “Get Together” and compose your meetup with details
- Post your get together!
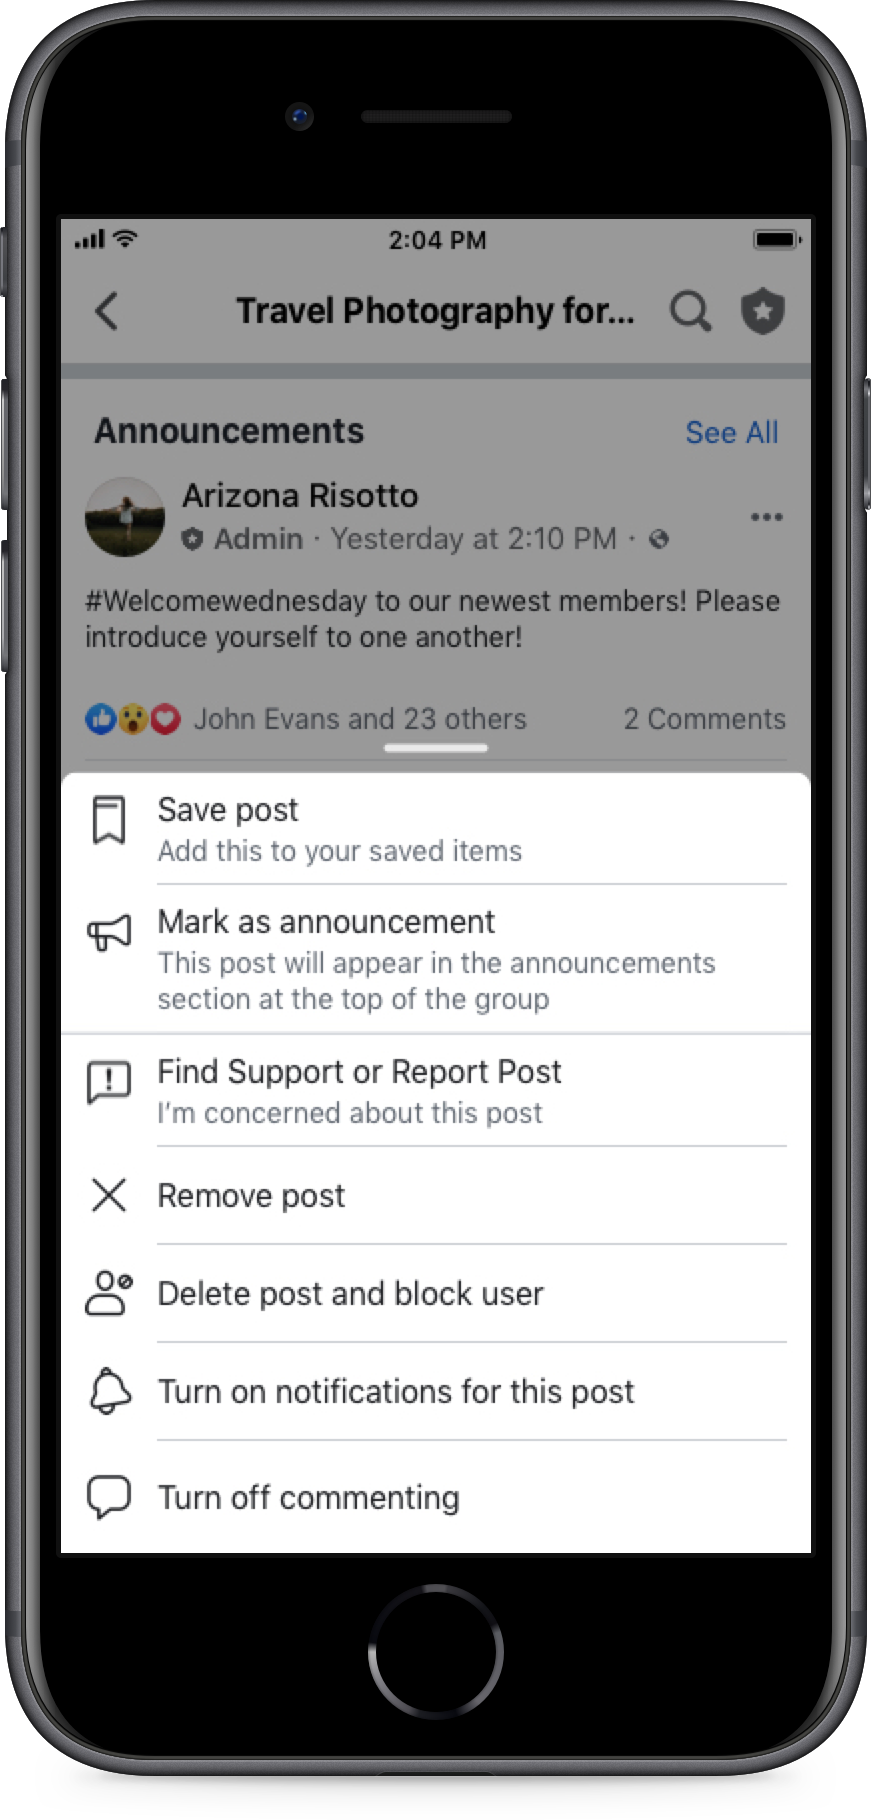
When promoting an event or get-together, pinning your event post as an announcement will help you get the attention of your members.
To pin announcement:
- Go to your community and find your event post
- Click the “...” and “Add to Announcement”
- Choose the length of time (could be until the event is over) and set your announcement!
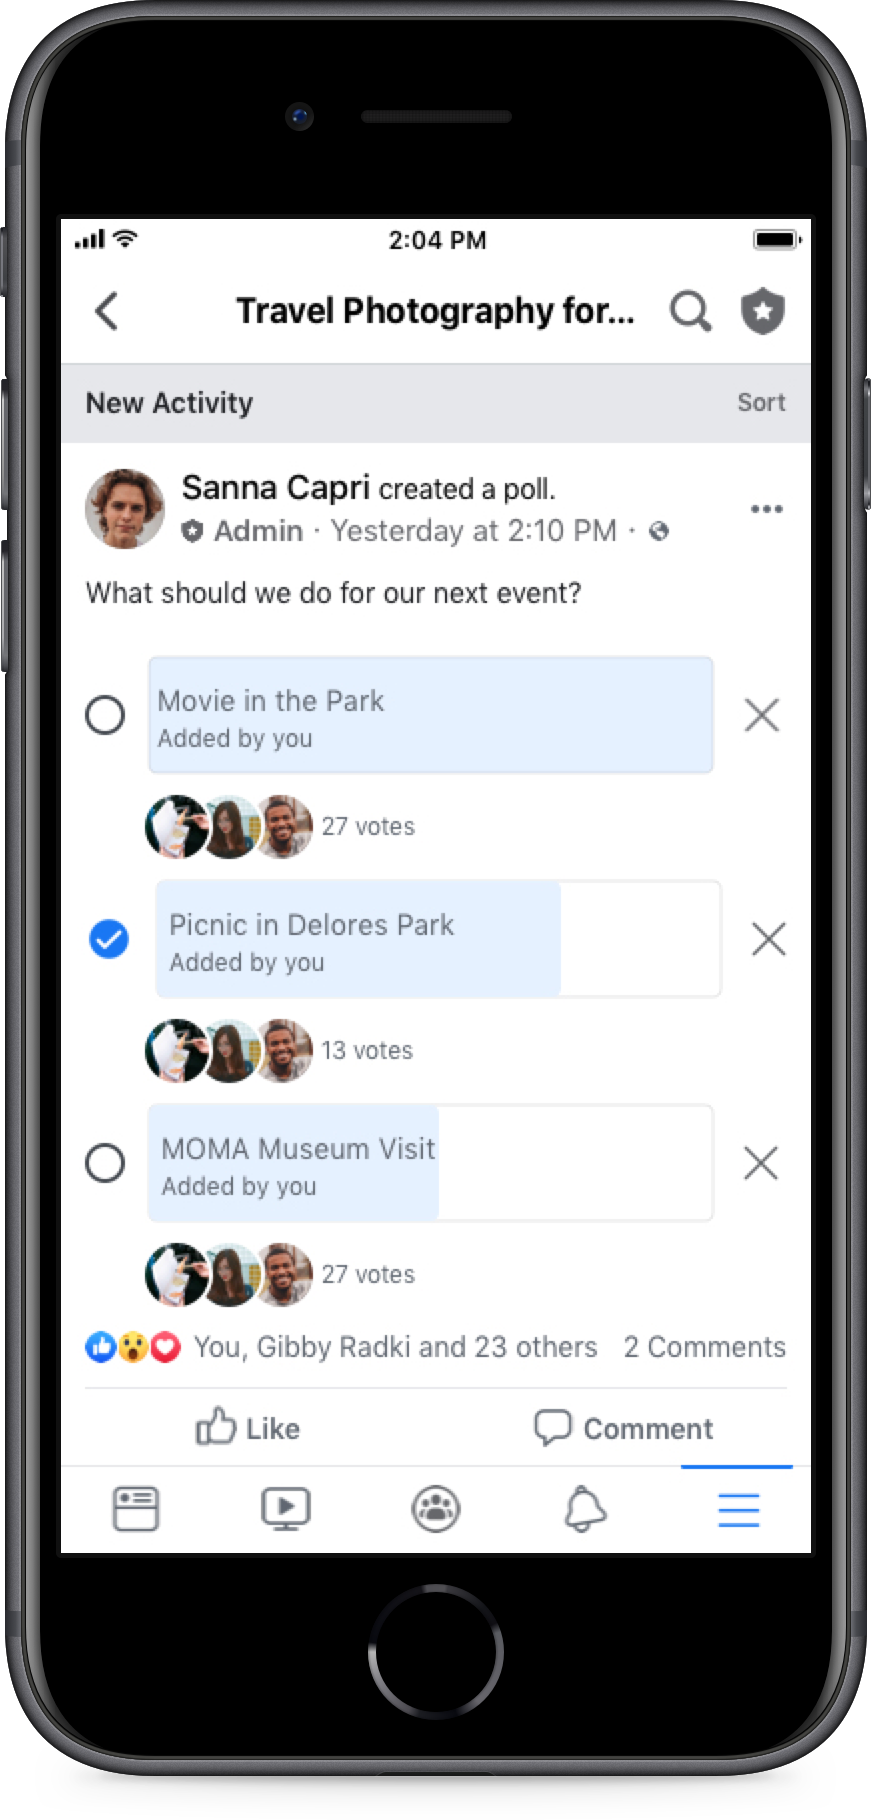
Polling your members on what events they would like to have can help you think of new ideas for your next offline event!
To set up a poll:
- Go to your community and open the composer tool
- Click on the “Poll” option and type your question which could be “What should we do for our next event?”
- Add options and using the “settings button” choose if you’d like to allow members to choose multiple or add their own options (sometimes it helps to say: “If you add an option, look forward to having you help plan!”)
You can also use Community Chats to get members talking about upcoming events in real-time. Admins say it’s a very useful tool for quick communication, especially the day before or day of the event itself. You can organize who’s bringing what, where to meet or any important details.
To create a Community Chat:
- Tap menu in the top right of Facebook and tap Groups then Your groups, then select your group. If you can't see Groups, tap See more.
- Tap menu at the top left of the group.
- Tap Create chat.
- Enter a chat name, an optional description and an optional category.
- Tap Create.

